Cannabis cultivation: Vegetative growth
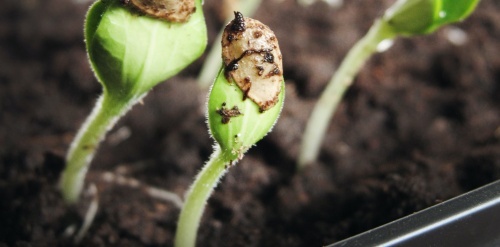
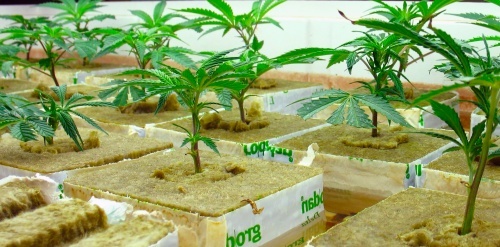
In this post we will talk about the vegetative growth of cannabis plants according to their needs according to the type of cultivation: Indoor or Outdoor. This phase begins in both modalities when our plant deploys cotyledons (the first two "leaves"). Something basic and common to both is the choice of the substrate, good and rich in nutrients so that in the first irrigations only is necessary to use water and a Roots Explosion root stimulator or bacterial compounds such as
Bactohemp,
Piranha,
Tarantula or
Bio-tonic. Stimulating liquids and bacteria that colonize the roots helping to nourish and protect from other fungi and bacteria harmful to the plant. Strong, healthy roots help produce the chlorophyll needed to produce plants with dense green foliage.
OUTDOOR VEGETATIVE GROWTH
The classic crop is the one that begins with sowing in spring and ends with harvesting in autumn, although in warmer places with a benevolent Mediterranean climate, where temperatures rarely drop below 8ºC, up to three harvests can be made per year.
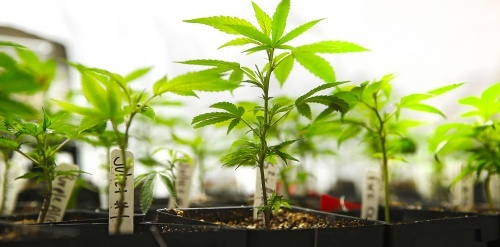
When the plant is beginning its development is very sensitive and we must control the weather conditions and the light they receive will not spoil them by an excess of light or a sudden change in climate, so at first we advise to have them in small pots between 0.25 and 1 liter in case of emergency can be moved easily. The optimal time to be transplanted into a larger pot will be when we observe that the roots begin to appear at the base of the pot, this means that the root mass has formed a root ball that completely occupies the small space where it is located. The pot that we will choose as the final destination of the plant must have a minimum size of between 7 and 10 liters of capacity.
As we have said at the beginning, it is very important to use a fertile soil and arrange it in the pot without crushing so that the root is properly aerated without being crushed. We must be aware that after a transplant the plant is stressed and therefore it is convenient for a few days to protect it from wind and weather while providing a soft light.

After the 3th or 4th week of growing, it is the ideal time to start using a fertilizer during irrigation until the flowering stage. The first thing we should do is to
check the pH of our water with a specific meter such as the simple
Ph Test Kit or
digital meters). The pH of the water must be between 6.7-7.2, if it is lower or higher it must be corrected with a product indicated for this purpose and then pour the fertilizer into the water. If we measure the pH of the water with the fertilizer included, this could alter the acidity parameters, so it is advisable to add it later.
There are several brands of growing fertilizer in the market: Biogrow, Grow Explosion, Bio Vega, Alga grow, etc. Since in general the growing fertilizers have a greater proportion of nitrogen in their composition. It is very important to respect the dosage and frequency of use indicated by the manufacturer in order not to overfertilize or "burn" the plant.
Another important aspect is the irrigation of the plant, for this we must take into account that the ideal measure of water is approximately 1/3 of the pot capacity. For example, if we have a pot with a capacity of 10 liters we must apply 3.5 liters of water and pour it slowly. Until the soil is completely dry, we should not water again, for this, simply insert a finger in the soil and do not adhere to our skin.
INDOOR VEGETATIVE GROWTH
In the absence of sunlight, it is we who must adjust the light to achieve a photoperiod that stimulates growth and flowering. The light intervals that we must perform during the growth phase should not last more than 4 or 5 weeks, then we should change the photoperiod to flowering mode with 12 hours of light and 12 hours of darkness. Plants grow as long as the hours of light are longer than the hours of darkness. Therefore, a minimum of 18 hours of light and 6 hours of darkness should only be established during growth. Except for automatic plants your photoperiod will be the same during growth and flowering.
The transplant, fertilizer and irrigation of the indoor crop is the same as the one we apply on the outside. The change of growth fertilizer for a flowering fertilizer should not be done when we change the photoperiod, but when we see a clear flowering on the tips of the branches.
We leave you a table so that depending on the type of bulb, the amount of plants we have and the stage of growth are known standard measures that must be between the plant and the bulb to prevent burning. A tip if we have several plants under the same spot it is good to periodically move the plants from the extremes to the center during the growth phase so that all plants get equal light.
| LAMP TYPE AND WATTAGE | HPS 100/150W. | HPS 250 W. | HPS 400 W. | HPS 600 W | HPS 1000W | LED Y CFL |
| 1ST PHASE PLANTULA | 25-30cm | 30-35cm | 60-65cm | 70-75cm | 80-90cm | 20-25cm |
2ND PHASE GROWTH AND BLOOM | 20cm 3-5 plants in an area of 50x50cm | 40cm 6-8 plants in an area of 80x80cm | 50cm 10-12 plants in an area of 100x100cm | 60cm 12-15 plants in an area of 120x120cm | 100cm 15-20 plants in an area of 150x150cm | 15-20cm Depending on lamp power |
PRUNING PLANTS
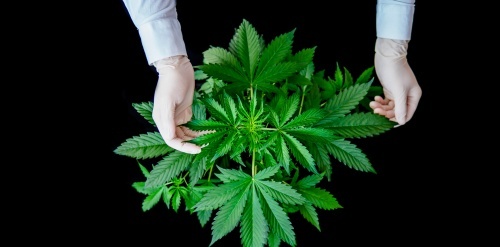
In both indoor and outdoor growing we can practice one or more pruning to the plant, although some varieties such as most pure and autoflorencientes indicators should not be pruned under any circumstances. The purpose of pruning is to redirect the growth hormones from the main branch to the lower branches. When you are going to prune, make sure to keep your hands and
instruments clean: scissors, razor, blade, pruning shears, etc. Because at first glance you won't be aware of the amount of spores, fungi and microbes that could affect the plant. Make the cuts at an angle of 45º to avoid dampness in the wounds. Never prune it 3 or 4 weeks before flowering, because it will take weeks to complete. And you can't prune the leaves, these are necessary to produce by photosynthesis the largest amount of chlorophyll. Pruning by pruning is useless if you have to be motivated.
Pruning Types
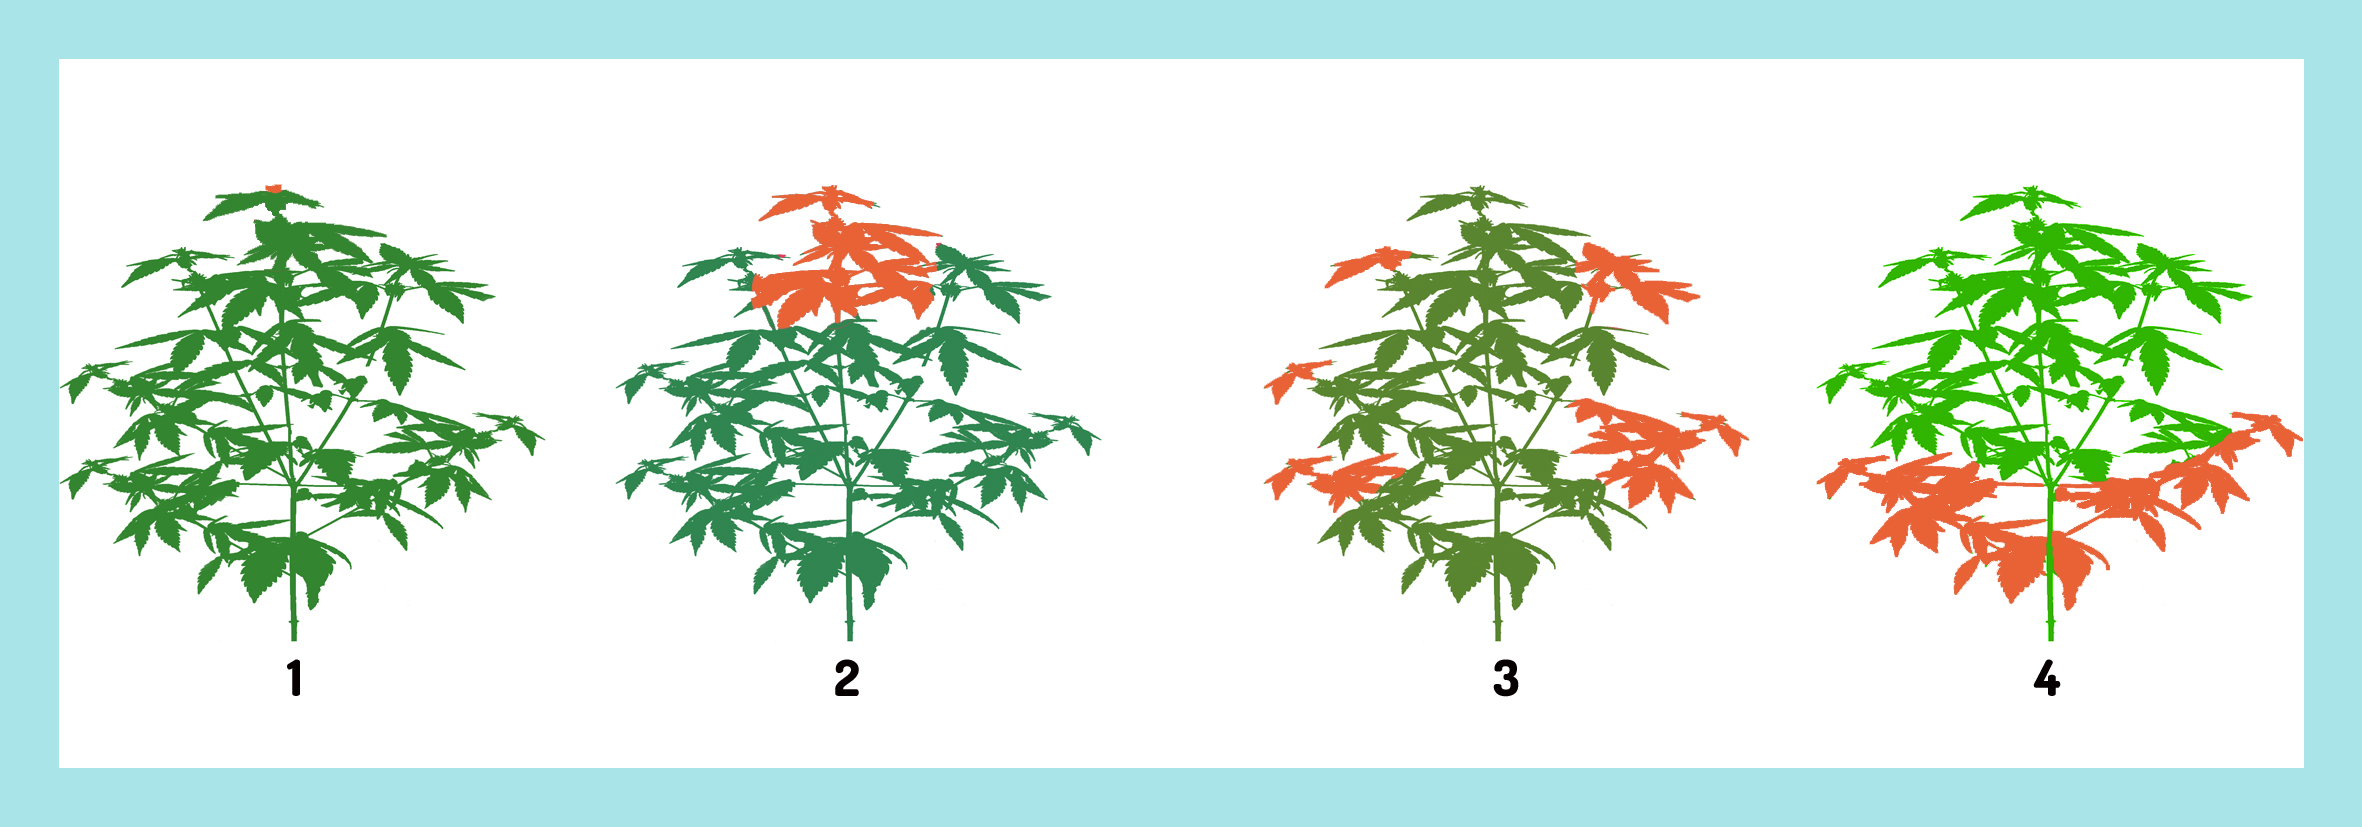
1. FIM pruning "Fuck I missed": Here we will only cut the plant guide which is the first set of leaves of the central stem in order to make the plant become less tall and more robust on the sides.
2. With the Apical Pruning we will achieve a greater lateral development at the same time that the central guide will fork in two central arms.
3. Lateral pruning helps the plant to grow higher, except in long term crops where it will also increase in size, so we must cut all the tips of the lateral branches.
4. Lower pruning of unnecessary lower branches that do not receive light to enhance the growth of their upper structure.
There are other varieties of plant height and shape control, less aggressive than pruning and known in English as: Low stress training (LST) and there are several techniques:
A. It consists of placing a few nails on the sides of the flowerpot and tying the branches with ropes to ensure that the plant does not grow upwards.
B. We break the branches without cutting them, so that with the passage of days the plant will form a corn at the breaking point and then continue its normal growth. But it will be useful to contain the growth of the plant without pruning.
C. Pinch with medium pressure using fingertips on the apexes of the various branches. Helping to contain vertical growth and favouring the horizontal development of the plant.
Images: Courtesy of Paradise-seeds
2017/11/22
THGrow
Basic Guide
