Cannabis cooking: basic guide
-
2021/12/20
-
THGrow
-
Curiosities
2. Strains and quantities
3. Decarboxylation
4. Cannabis butter
5. Cannabis milk
6. Cannabis chocolates
7. Cannabis biscuits
8. Conclusions
1. Introduction
Nowadays it is possible to make all kinds of edibles with cannabis, from Christmas recipes to jelly beans, but chocolate and biscuits are still the classics. Making cannabis edibles requires minimal knowledge of both the kitchen and the plant to get it right. Not everything is as simple as buying a biscuit mix, grinding up some weed and baking. In this blog post we will go through the steps so that we don't have any problems.
Lohe first thing is to take care of the quality of the product. There is little point in having the best grass if you are going to use low-quality ingredients. In this case it is worth spending a little time and money to buy butter, flour, eggs, chocolate, etc. that offer certain guarantees. By making our own cannabis edibles we will avoid all the unhealthy ingredients that commercial ones usually contain, such as syrups and sugars in industrial quantities.
2. Strains and quantities
If we are able to select the strain we are going to use, we can consider whether we want to make edibles for daytime or nighttime use. Generally, depending on the point of harvest and the consumer, Sativa strains tend to be more cerebral and energetic and Indica strains more relaxing. If it is a party with friends it can always be a good idea to use some Jack Plant, Hawaiian Snow, Power Plant or similar. In case you are watching movies in a relaxed atmosphere, Mazar, Cream Caramel or Shark Widow will be a good choice.
It is difficult to establish what should be the right amount of cannabis for the recipe, as each plant has different levels of cannabinoids. The easiest way is to start with an average value, for example assume that everything has 10% THC. So 1 gram (1000 mg) of weed would be 10% of its dry weight in THC, so we would have at least 100 mg of THC for every gram of weed used.
Since ingested cannabis acts very slowly and it is not easy to know in advance how we will react, it is best to calculate small individual servings containing at least 10 mg of THC. If we quantify it in, for example, small biscuits, we can calculate that about 7 grams of weed would be enough to make at least 60 biscuits. Each biscuit would have a little more than 11 mg THC.
People have a different tolerance to cannabis than others, so these amounts are approximate. Our advice is always to take it slowly to avoid feeling sick, allowing at least an hour between ingestions. Keep in mind that the effect is not immediate. More advanced consumers may prefer to prepare their edibles with at least 20 mg THC. Amounts such as 50 or 70 mg THC should be considered very high and should be treated with caution.
3. Decarboxylation
We will need: a grinder or scissors, buds with resin or manicured leftovers, baking paper and an oven.
Preparation time: one hour.
Difficulty: easy.
Time required: about 45 minutes.
In principle, marijuana is edible but eating it raw has little psychoactive effect, as the THC will not pass into our bloodstream. To activate THC it is necessary to heat the cannabis by some method such as cooking, vaporisation, combustion or decarboxylation.
In the recipes in this post we will use decarboxylated cannabis, but you will see other recipes that do not do this prior step. If this is the case, it is because this process already occurs in the cooking of the cannabis itself, but then you will have to faithfully follow the steps and temperatures indicated.
To take advantage of all its psychoactive properties in gastronomy, it is always advisable to decarboxylate marijuana, which we could summarise as something similar to what we do with a lighter when we light a joint. Let's take it step by step. The only drawback is that we will lose some terpenes in the process.
Warning: the smell may become too strong during the process, so be sure to ventilate the house well.
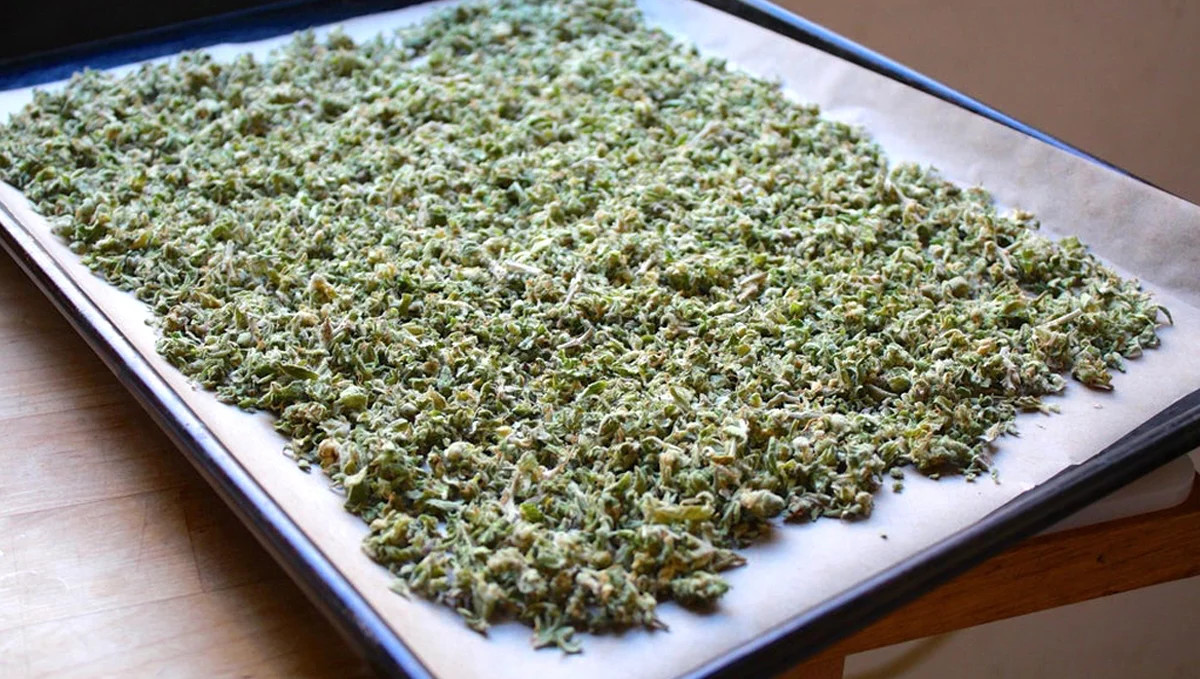
Start by preheating the oven to 110 - 115°C. If we have a cooking thermometer we can use it to make sure that this is the actual oven temperature. The herb should be finely chopped, we can use a grinder or a pair of scissors for this. Spread it out on the tray, on a sheet of baking paper, so that it does not pile up and there is some separation between the pieces. Then place the tray in the oven for 30 to 40 minutes. Every 10 minutes it is a good idea to stir the grass a little, so that it browns evenly. Keep an eye on the cannabis so that it doesn't brown too much, as the result we are looking for is a golden brown appearance rather than a bright green. Times may vary depending on the oven and the marijuana strain.
After this time, remove the tray from the oven and wait for the chopped herb to cool. Finally, we can transfer all the decarboxylated herb to a food processor and run it for a second to obtain a more uniform grind. We can store it in a glass container in a cool, dry place
4. Cannabis butter
You will need: half a litre of bottled water, 250 grams of butter (no salt added), 5 to 10 grams of decarboxylated cannabis buds (the quantity can be doubled or tripled if you are going to use manicured leftovers).
Preparation time: about 5 hours.
Difficulty: easy.
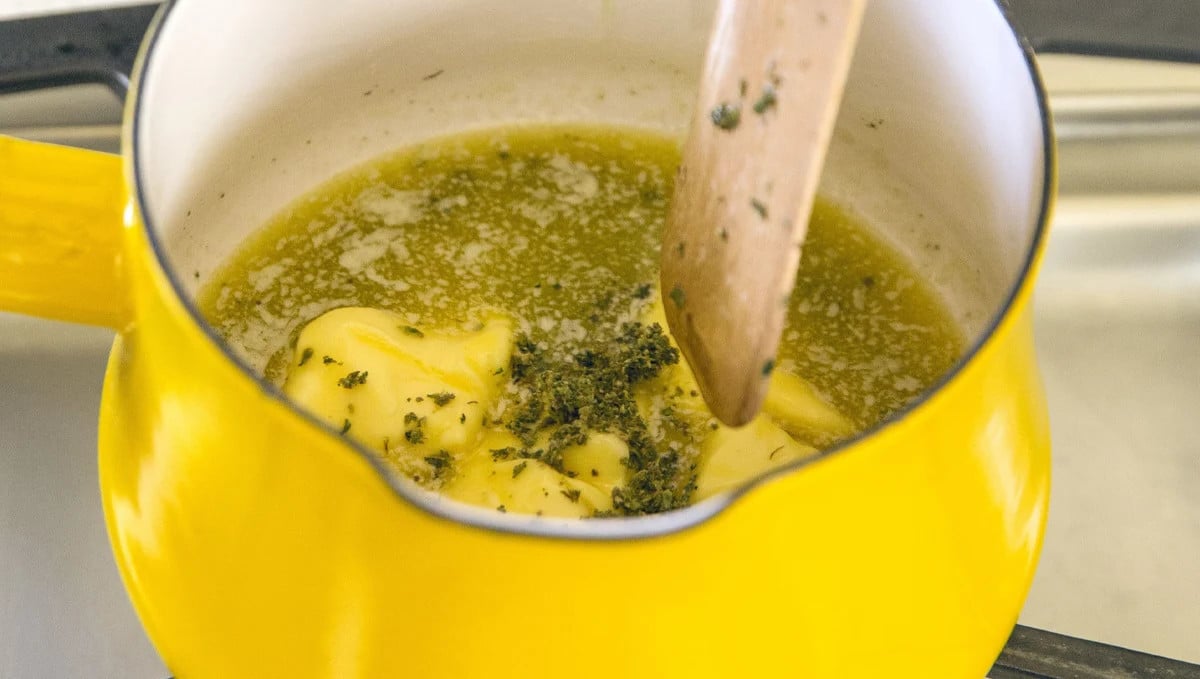
It should be taken into account that cannabis is fat-soluble, that is, it must be diluted in a fatty element such as butter, oil or milk. As butter is the basis of many recipes, we can consider this the first step in cannabis cooking.
The process is not complex and the only thing to keep in mind is that at 150°C some cannabinoids will start to degrade, so we should avoid reaching that temperature.
There are many ways to make butter, some of them so tedious that it can take up to 8 hours to complete the process. We are going to use a simple method that will give you a flawless result. If you want to look for other ways to make cannabis butter you can always start by typing cannabutter into your favourite search engine.
Let's start. In a medium-sized saucepan, bring half a litre of water to the boil. As soon as it starts to boil, add the butter and let it melt completely. Then add the decarboxylated marijuana and reduce the heat to continue over low heat for about three hours, until the mixture begins to thicken at the top. The temperature should not exceed 80°C.
At this point we are almost done. Place the mixture in a greased buttered bowl, leave to cool for an hour and put it in the fridge until it reaches its original consistency (at least another hour).
The butter will be floating on top of the water, so carefully remove it and place it wet side up. Remove any remaining water with kitchen paper. You will be able to see the impurities in the butter. To obtain a clean, ready-to-use product, simply return the butter to its liquid form and strain it into its final container.
A good way to test how the butter has turned out is to make popcorn in the classic way, with corn kernels. Put a saucepan over a high heat with two spoonfuls of oil and two spoonfuls of butter, cover the bottom with the kernels, without letting them pile up and, as they begin to pop, cover and start to make circular movements at a certain distance from the heat so that they don't burn. When the last ones have finished opening, salt them and they are ready to be enjoyed. Simple buttered toast will also do the trick.
5. Cannabis Milk
You will need: between 500 ml and 1 litre of whole milk, about 7 grams of decarboxylated buds (you can double or triple the amount if you use manicure waste) and a gauze to strain the final result.
Preparation time: 1 hour.
Difficulty: easy.
Along with butter, we can consider cannabis infusions with milk as another of the pillars of cannabis cooking. It is a versatile element that opens the door to numerous preparations, as it is easy to use it to make omelettes, ice cream, crepes, custard or simple mashed potatoes. As before, we will try to use simple processes that give good results. If you want to look for other ways to make cannabis milk, you can do a search with cannamilk.
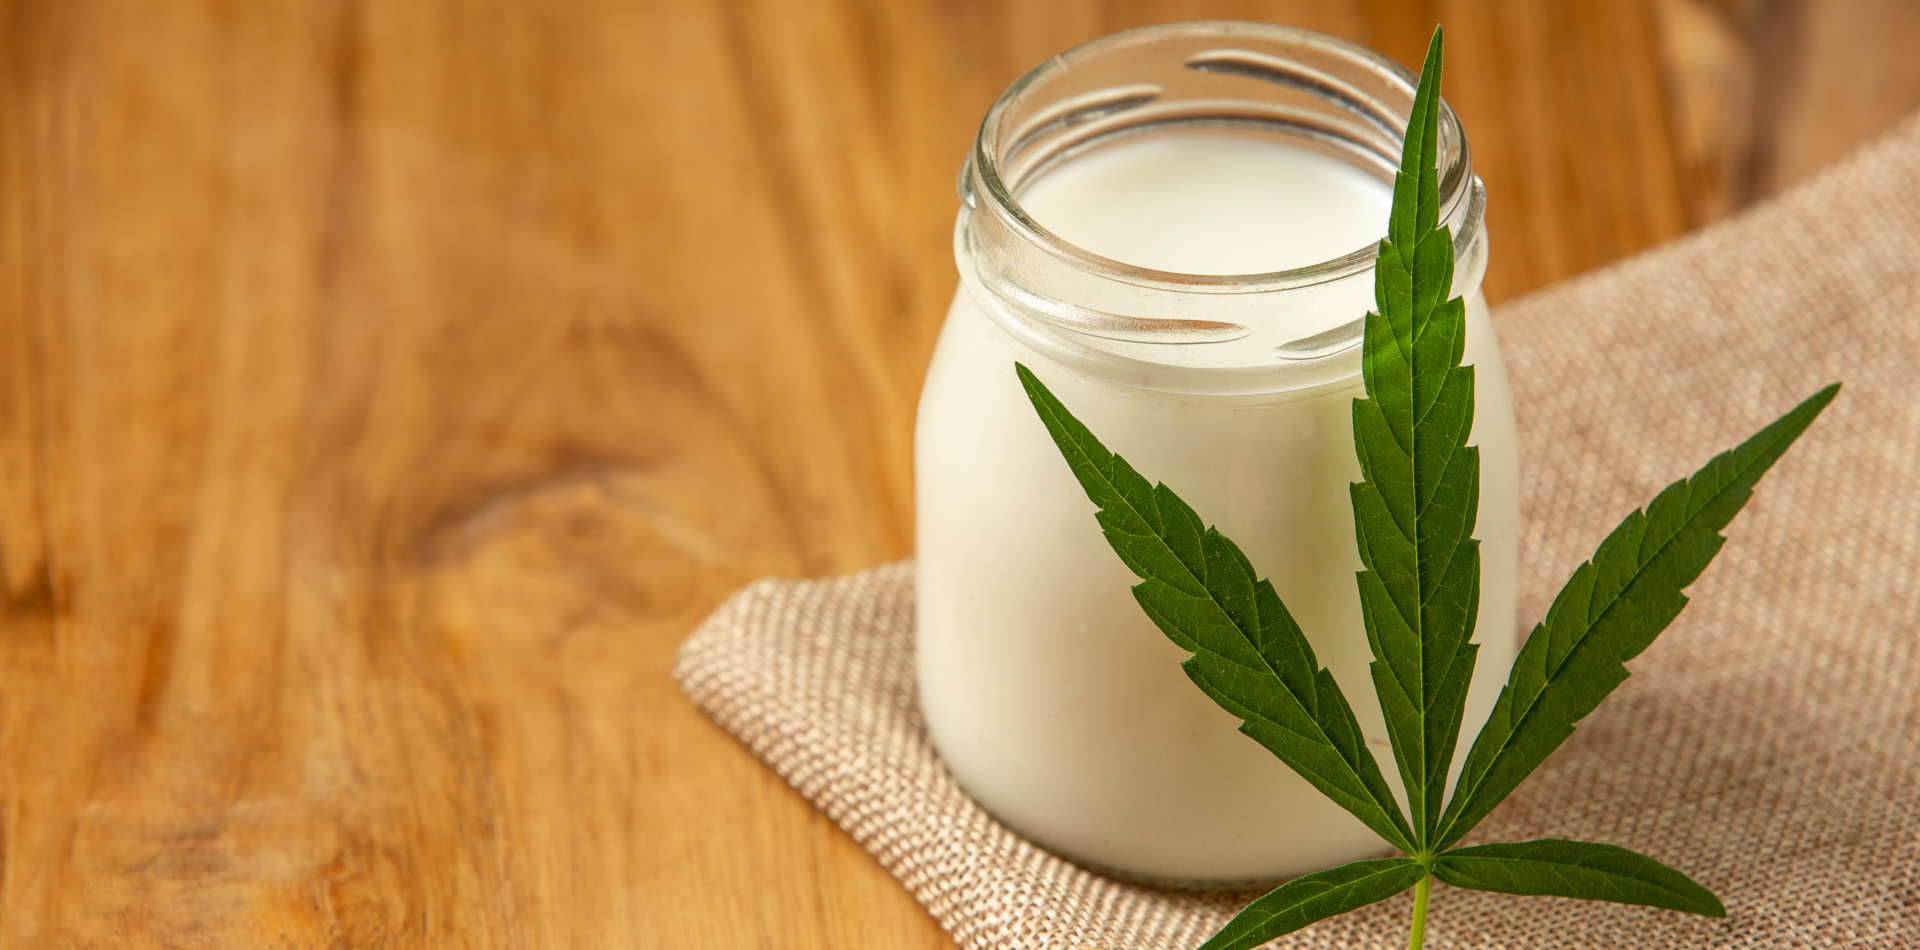
When cooking with cannabis, it is always best to start with decarboxylated buds. Put the milk in a saucepan, add the cannabis and simmer for 50-60 minutes, stirring frequently. It is important to prevent the milk from boiling or burning, so it is important to keep a close eye on the process. As the time progresses, the milk will thicken slightly and take on a yellow to greenish colour. Once the time has elapsed, strain the final result through a cotton gauze that is suitable for handling food (such as cheesecloth, also known as cheesecloth) and leave it in its final container.
Whole milk is ideal because of its fat content, but this recipe can be used with other plant-based drinks, such as almond, soy, rice, oat drinks, etc. The steps are always the same: decarboxylate the cannabis, simmer and allow to cool.
¿Fancy that mid-morning coffee with milk and biscuits now? A cloud of milk in your tea?
6. Cannabis chocolate
You will need: 200 grams of chocolate bars, about 15 grams of cannabis butter, a set of saucepans to heat in a bain-marie, a wooden paddle and, optionally, a mould.
Preparation time: 15 - 20 minutes.
Difficulty: easyi.
Chocolate and cannabis have many things in common: they are often consumed for pleasure, they have historically been used as medicines or aphrodisiacs, and they contain compounds that act on the nervous system
UWe will use, as we have done so far, a simple recipe that gives good results.
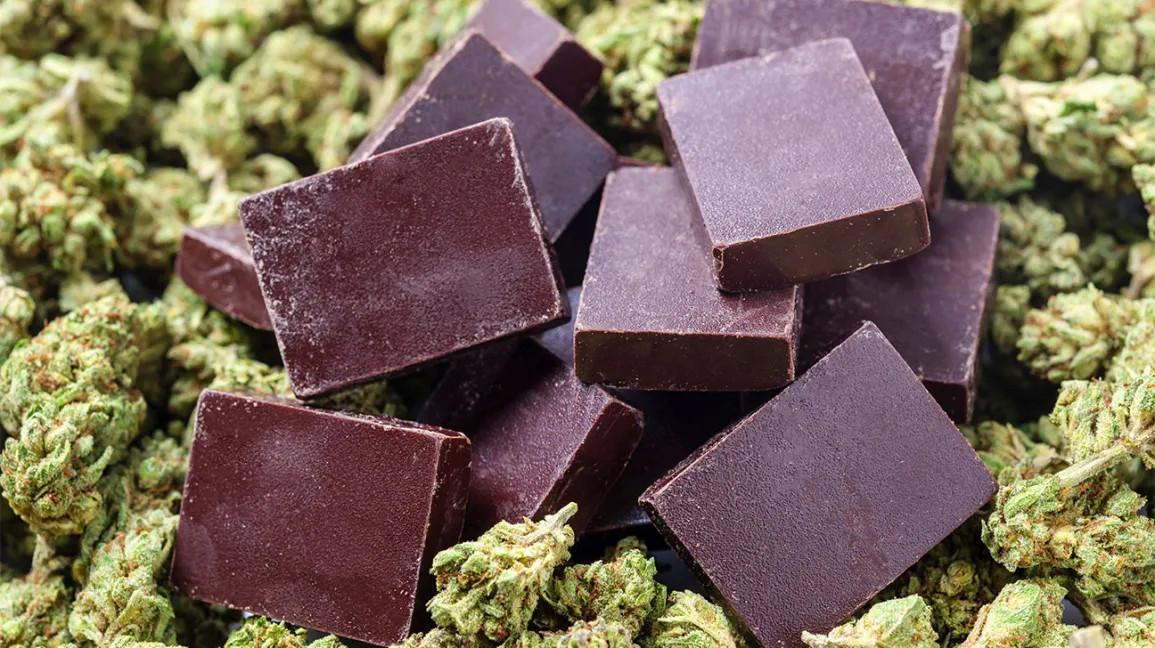
Start by chopping the chocolate into small pieces, either by hand or with a knife. Place a saucepan over a pan of water and start to heat the broken pieces in a bain-marie at low heat. The chocolate will heat indirectly and we will use the wooden spoon to make it homogeneous. It should melt slowly, not burn. After a few minutes it will become completely liquid, at which point add the marijuana butter and stir well so that everything is evenly mixed. Remove from the heat, leave to cool and put it in the fridge for at least 24 hours.
If you do not have a mould, it is easy to make batons on baking paper. An ice cube tray can also be used as a mould. Another possibility is to add chopped nuts after the butter and form small rocks. Pistachio nuts, almonds, cashew nuts or hazelnuts are very good additions.
7. Cannabis biscuits
You will need: 180 grams of cannabis butter, 400 grams of special pastry flour, 170 grams of sugar, 2 eggs, 1 sachet of baking powder and, optionally, something that adds extra flavour to the sponge cake, such as nuts, vanilla, lemon peel, chocolate chips, ginger, etc. We will also need a bowl to mix the ingredients, an oven, baking paper, a whisk and, optionally, a food processor with a whisk attachment.
Preparation time: about 30 minutes (not counting the dough resting time and baking time).
Difficulty: medium.
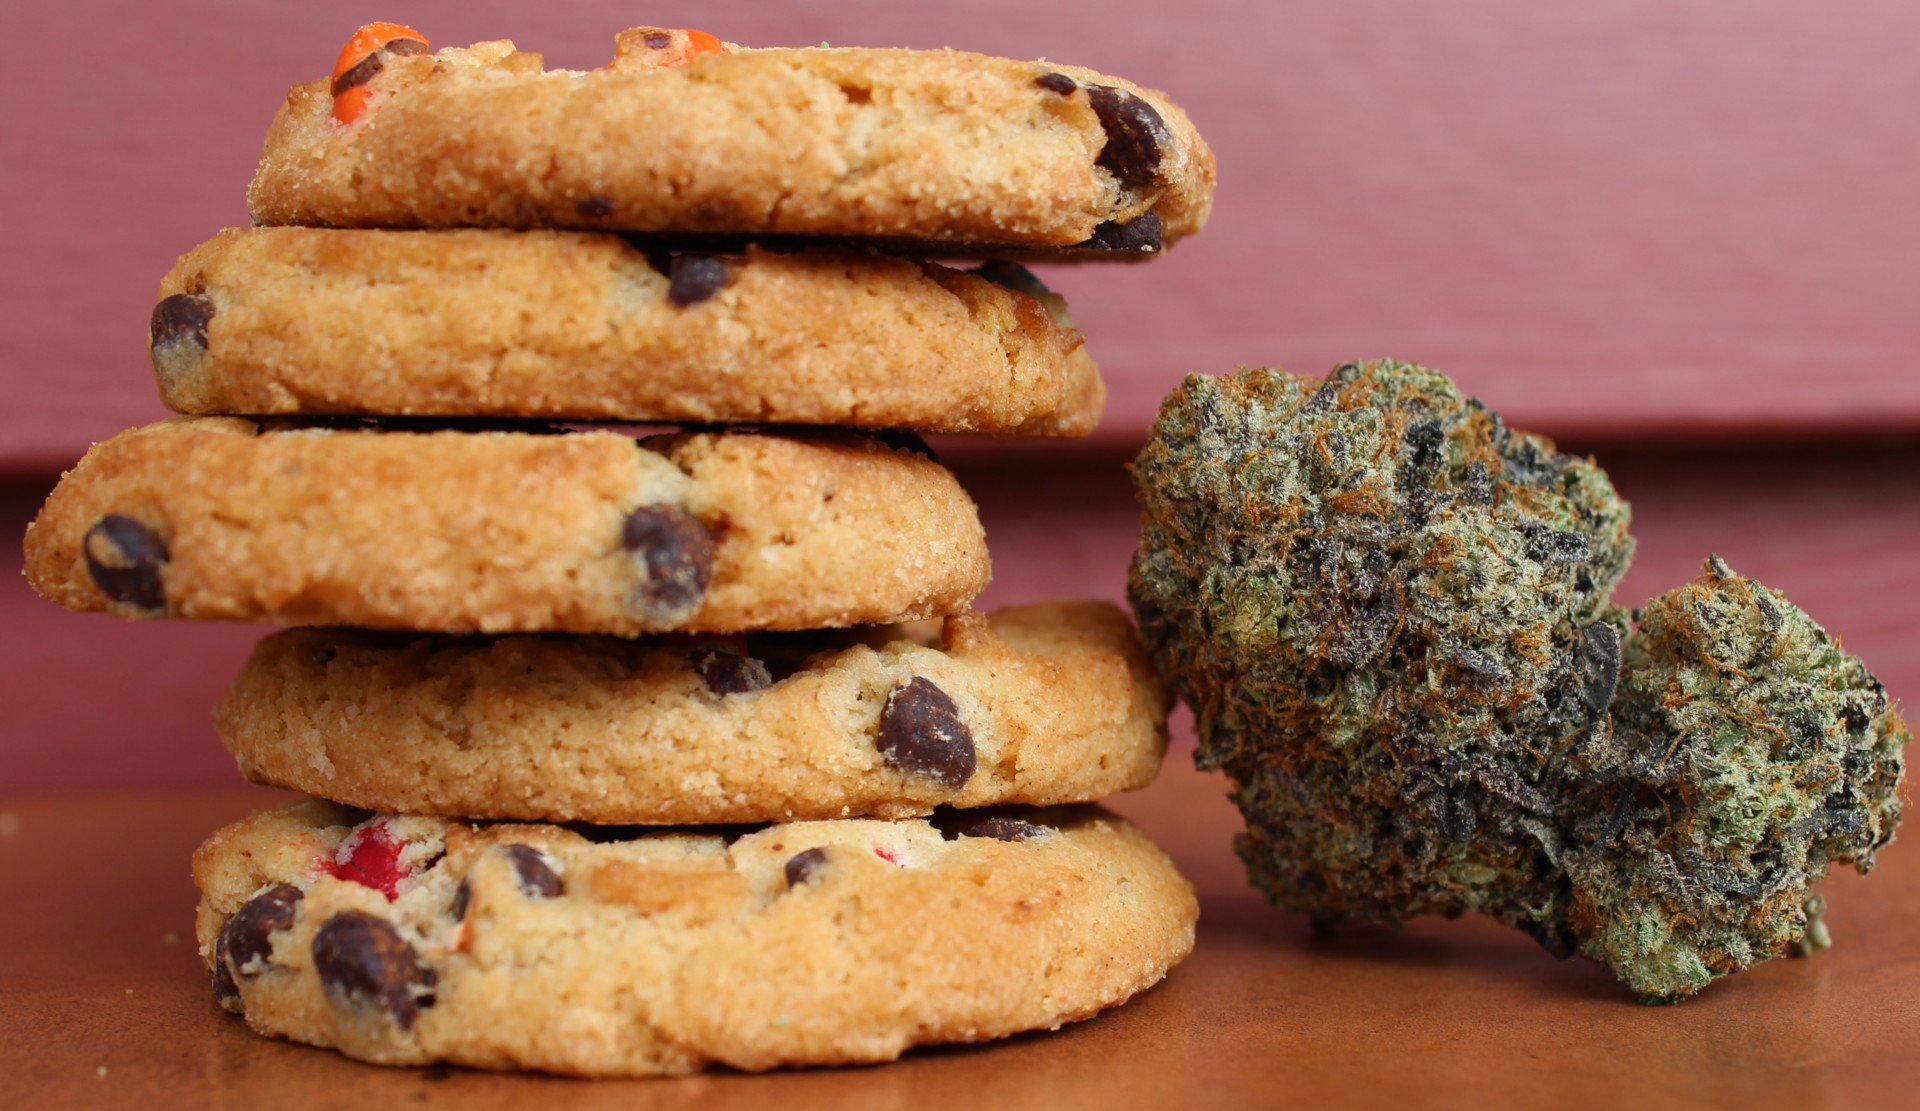
Biscuits are one of the easiest ways to dose cannabis consumption: they are all similar in size and can be broken into two or four equal parts. It is one of the most common presentations at any party and it is rare to find someone who doesn't like them.
To make these biscuits, start by melting the cannabis butter over a low heat or in a microwave. In a bowl, mix the flour and sugar and set aside. Continue beating the eggs and adding the melted butter. Continue beating and add the flour and sugar mixture. The dough should be homogeneous, at which point add the yeast and any extras you want to use, such as a few chocolate chips or a little grated ginger. Leave the mixture to rest for at least an hour, covered with a tea towel. The fridge is a good place for the dough to rest.
After this time, heat the oven to 150°C, put baking paper on the baking tray and make the biscuits by hand and leave them on the tray. It is important that there is some space between them, as the dough will rise as it bakes.
We can work the dough a little more with a rolling pin or use moulds to give the biscuits fun shapes. Place the tray in the oven when it has reached the set temperature and wait for about 15 minutes. Be careful, because when they are golden brown they are ready to be taken out.
8. Conclusions
Ingesting cannabis is very potent, rather than smoked or vaporised, and its effects are long-lasting. For this reason, it is best to start by ingesting a small amount and wait about 45 minutes before taking another portion.
Another very important thing is to label foods containing cannabis so that no one consumes them by mistake and never offer them without informing people what they contain.
As we have seen throughout this post, cooking with cannabis boils down to some very basic fundamentals: do not overheat the cannabis and decarboxylate whenever it is specified in the steps to follow or if it is not going to be cooked too little or at a very low temperature. Keeping these two simple rules makes it very easy to adapt almost any recipe to include a few buds in it.
Have we forgotten any tricks you know or would you like to leave us a suggestion? Don't hesitate to let us know what you think of and, if you dare to put a recipe into practice, share your photos with us.
